Notes and Benefit Customization
You may sometimes find it necessary to add additional information to the benefits pulled with Eligibility AI, add notes for a particular patient/appointment, or override information retrieved by Eligibility AI entirely. This article will cover how to do so.
Adding an Office Note into the appointment
If you need to add "office notes", simply navigate to the appointment date for the patient in question and click on their name from the list.
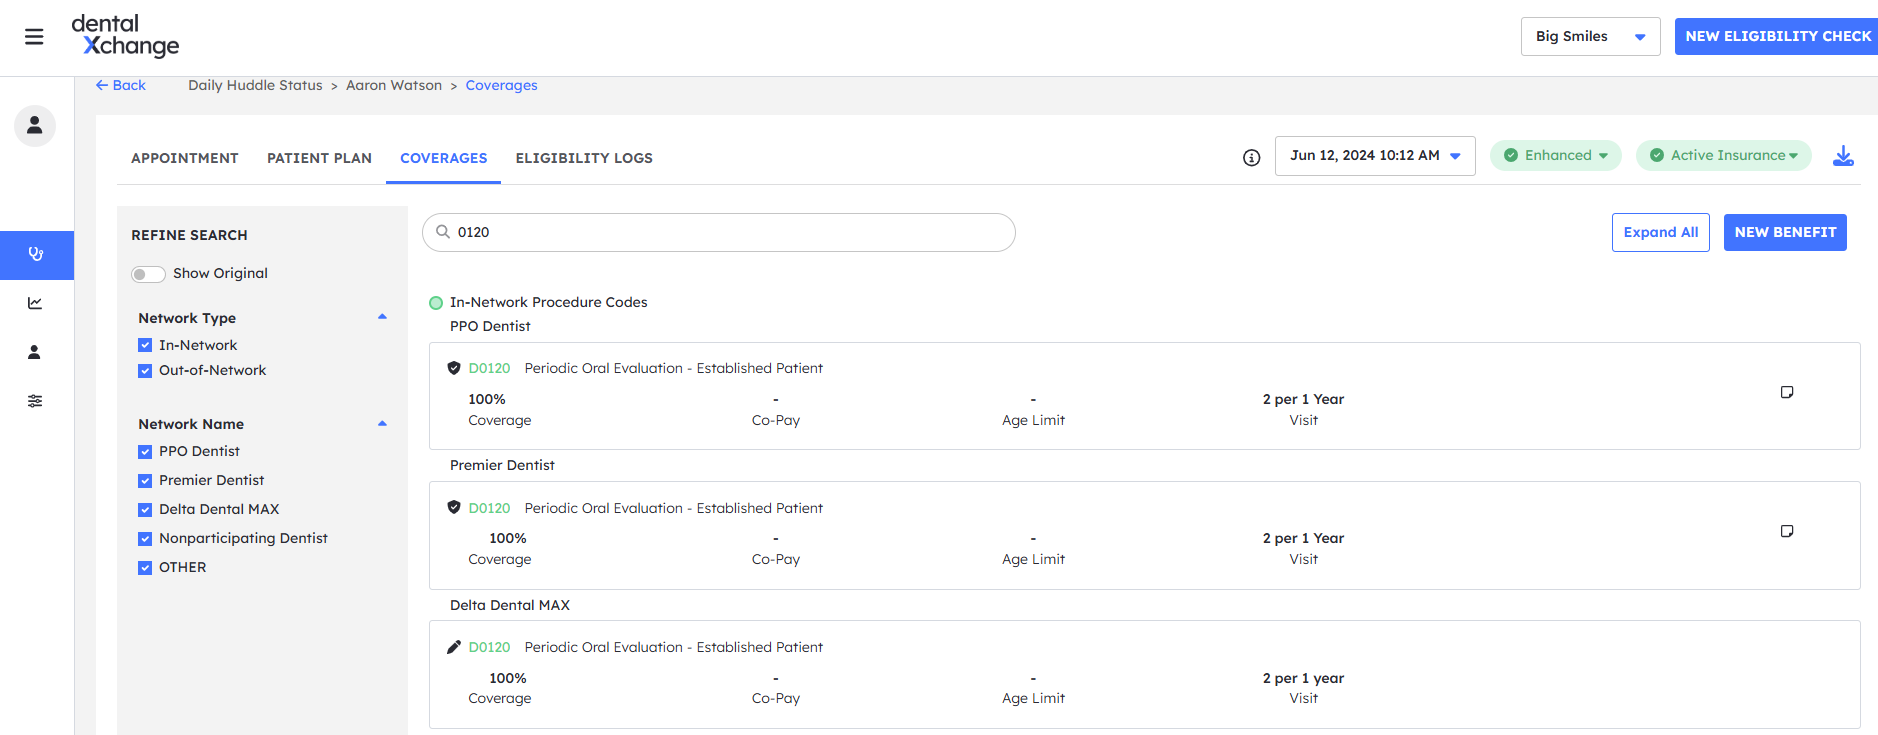
Once you are on the patient's appointment, navigate to the "Coverages" tab towards the top, and click the blue "circle plus" icon to expand whichever coverage category you want to add the note to or simply type the service code or procedure name into the search bar to be taken directly to that procedure.
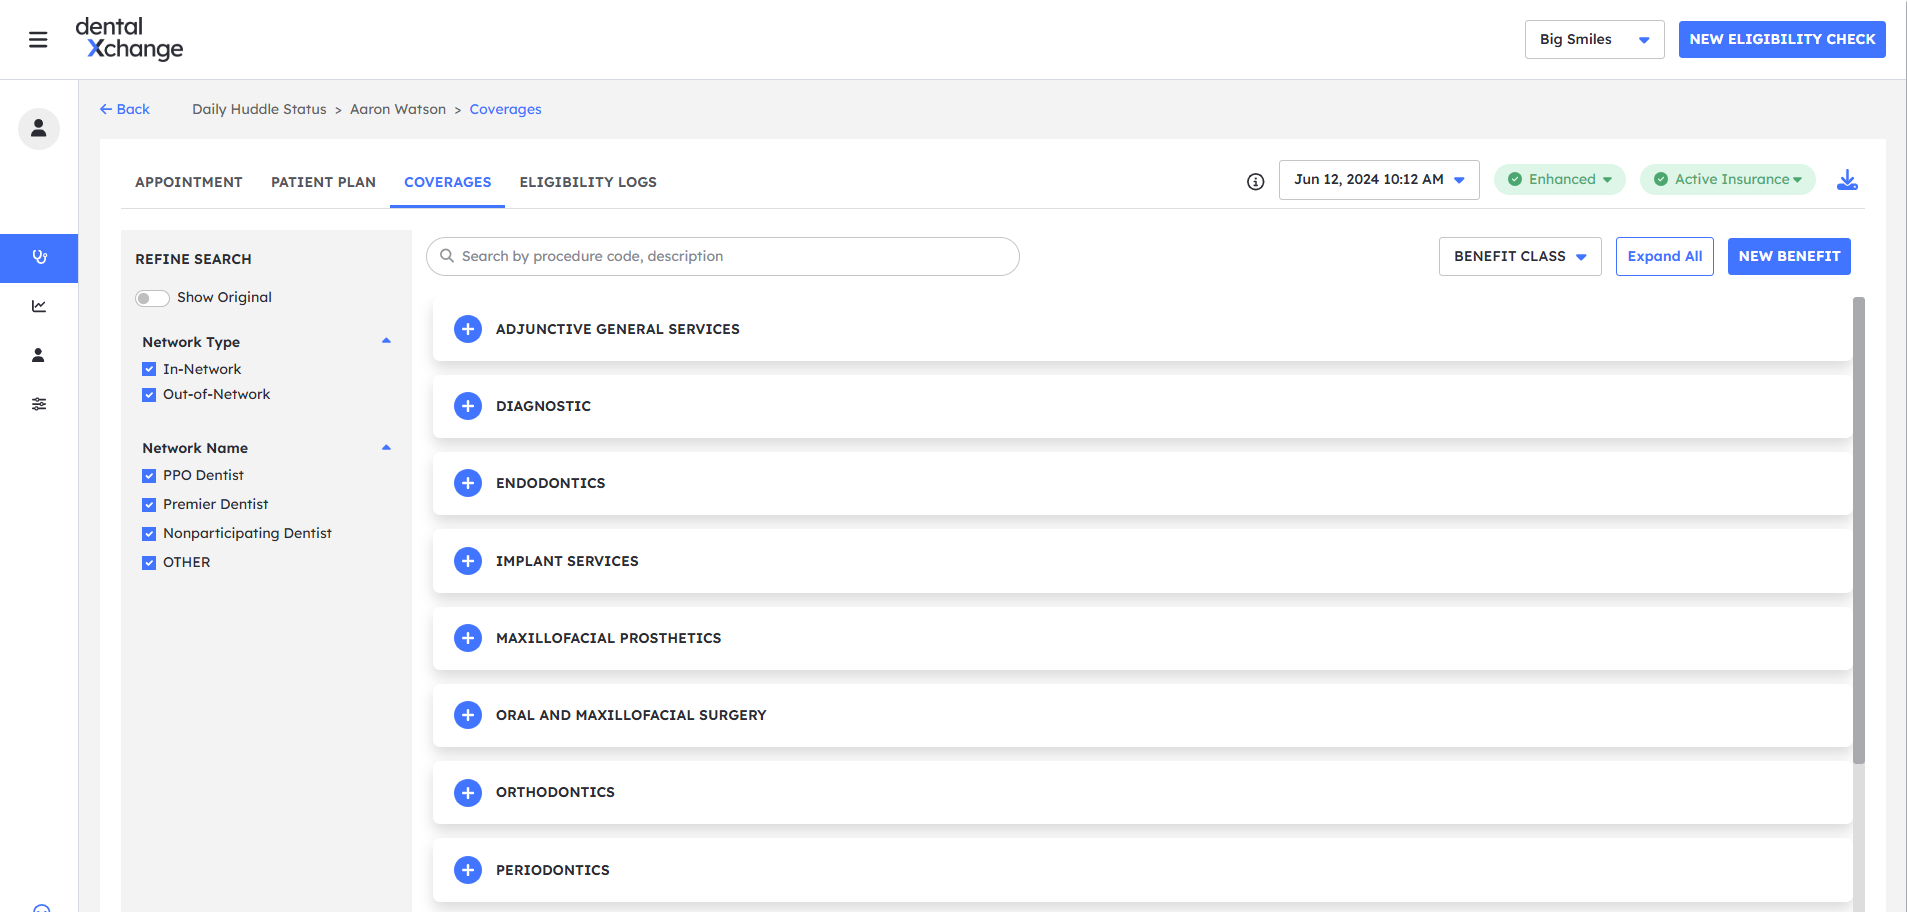
Once the coverage category is expanded and service codes are displayed, click the service code you would like to "edit" and you will be prompted with a screen similar to the one displayed below.
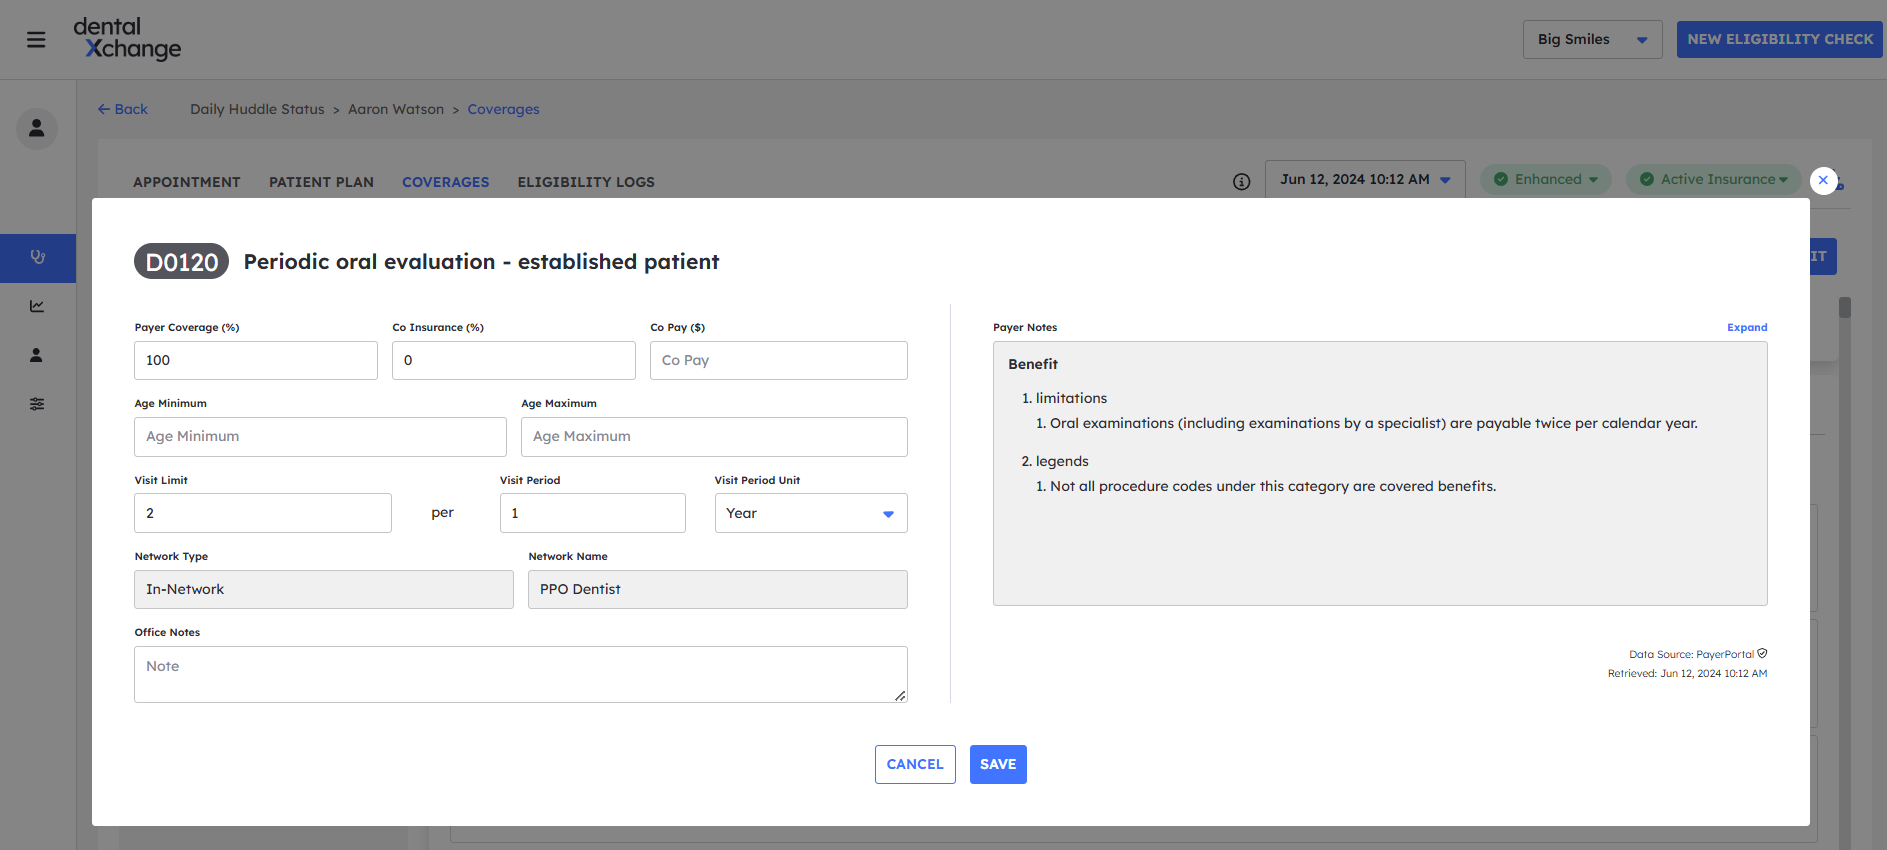
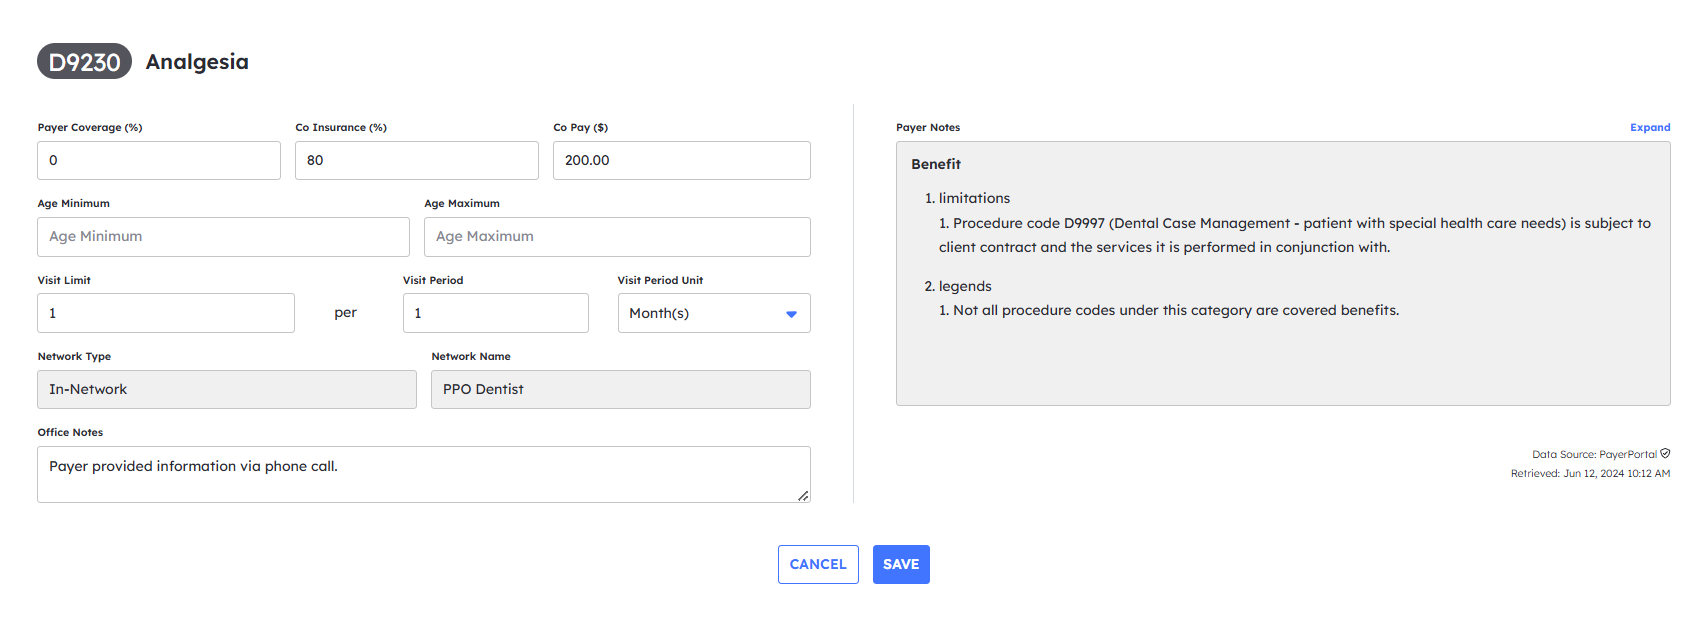
From this screen, you will be able to click in the "Office Notes" box in the lower left hand corner and add the preferred note for this specific patient. When the note is complete, simply click the blue "save" button to save the note, otherwise click "Cancel" to cancel the note.
Adding a New Benefit to the Coverage Breakdown
Sometimes certain codes may not be in the coverages list and you may want to add something. In this case you would select the patient you would like to add the service code to. Once you click on the patient, go to the "Coverages" tab. In this section, you will see a blue button to the right of the screen that says "New Benefit". Simply click this button to add the details of the procedure.
In this screen you will be asked to fill in the suggested areas, selecting the procedure code, Network type, Network name and you can also add an "Office notes" that we previously discussed in the last section, if needed. Once the fields are filled in, click the blue "Save" button to save the procedure to this patient.
Once you click save, the procedure code will show up under the patient's coverages tab along with any other codes pulled from the portal. Much like manually added benefit information, manual codes will show a "pencil icon" to the left of the procedure code to denote they were entered manually. You can click on the manually entered code to view any notes added to it as well.
How to Override existing benefits
Once you have the benefit class expanded, and have located the code, simply click anywhere in the procedure code's box, and the coverage details window will open. As you can see below, we have added the co-pay and frequency.
You will be able to adjust certain pieces of information on a benefit depending on how it was pulled. This benefit was pulled from the payer's portal, therefore, you cannot change the code, Network Type or the Network Name. Once you have added all of your additional information, click the blue "save" button to have your manual entries added to the patient's benefit information.
How to Override Eligibility Status
In the event that an office may need to better manage their appointments in Eligibility AI, there is a way to override the status of an Eligibility check to indicate specific workflows like; "Cleared", "Follow-Up", & "Needs Attention". This will allow the user to override an Eligibility status to alert other staff in the office to help create a more precise workflow.

Once inside the appointment screen, clicking on the left status (Verification Status) will show the current status highlighted in gray and possible override statuses below that. The system status, in this case, is "Enhanced". This would be the status without an override chosen.
How to Override Insurance Verification Status
The option to override an Insurance Verification Status (shown below) is similar to process of overriding eligibility status except with fewer options. "Active", "Unknown", and "Inactive" are possible system statuses which can be used as override statuses as well. From the appointment screen to the right of the "Eligibility Status" button you will see the "Insurance Status" button. Under the "Insurance Status" dropdown, the system status will be highlighted in gray and will not always be shown at the top of the list. Here you can select the status you prefer to alert users in the appointment of different Insurance Verification Statuses.
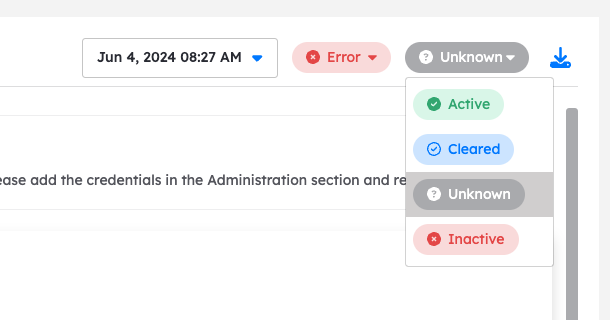
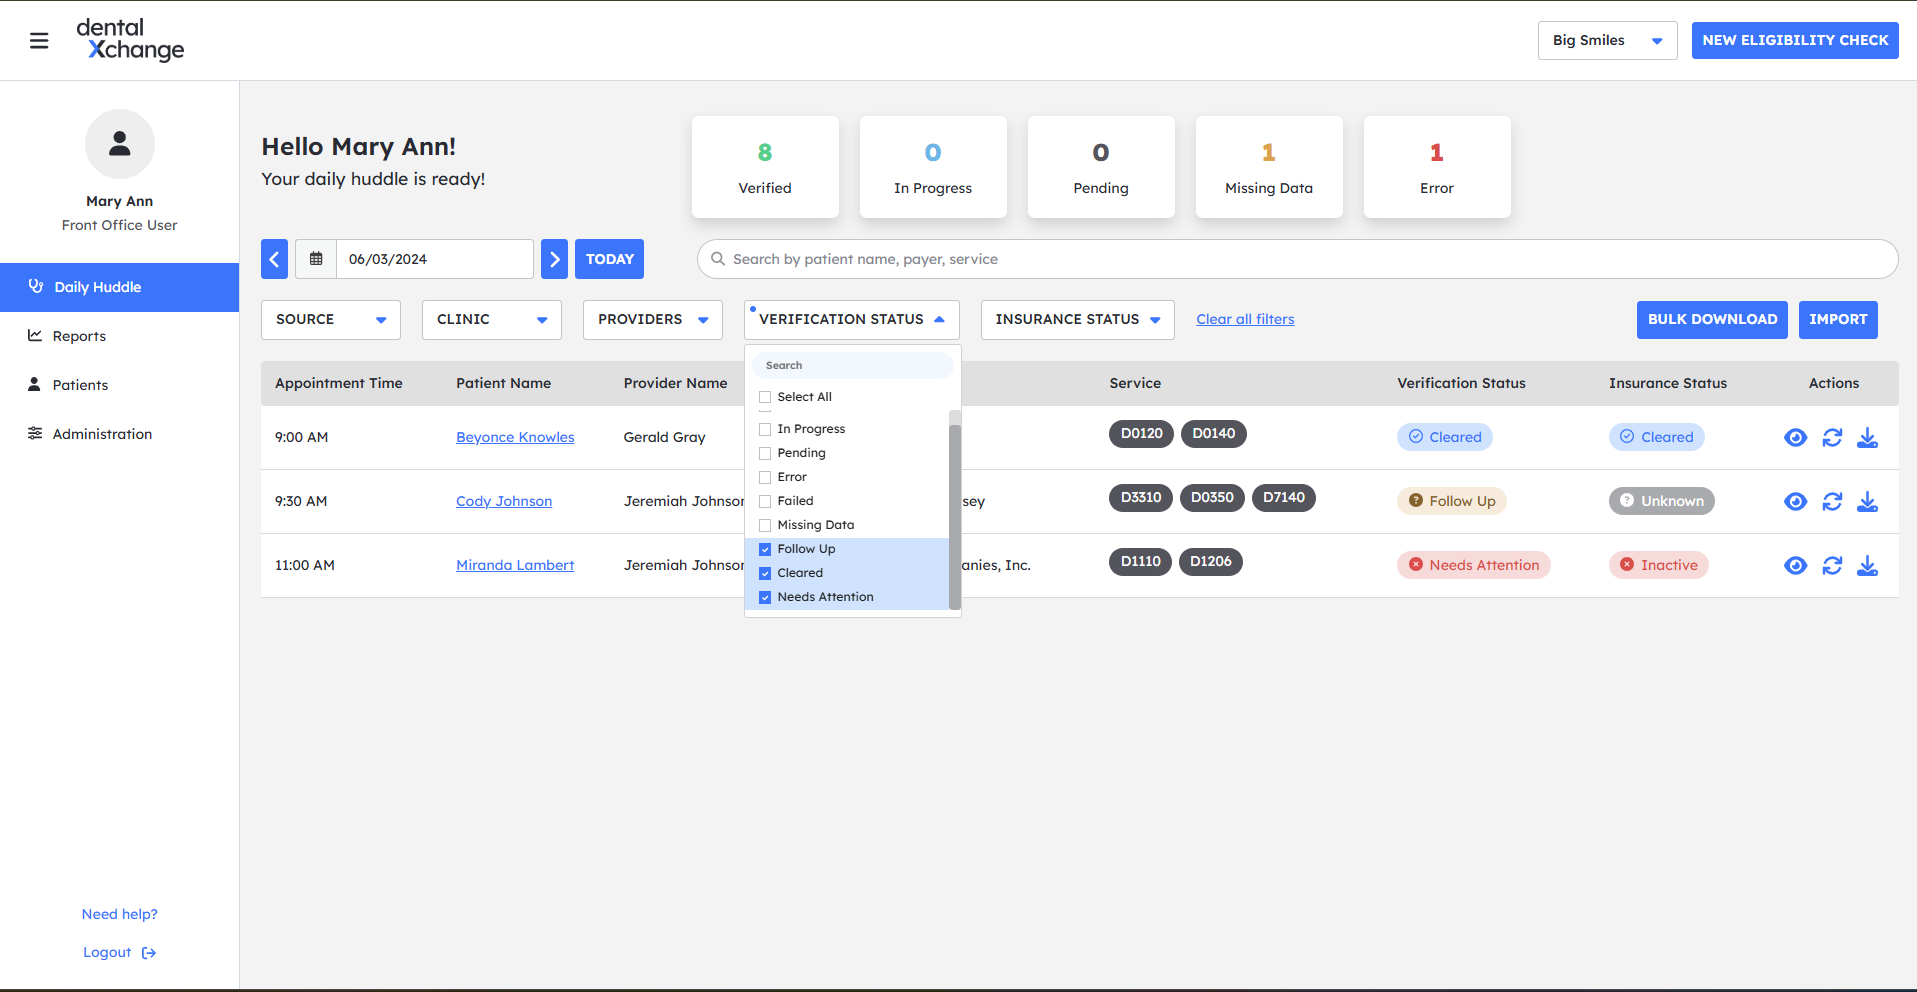
From the "Daily Huddle", you may also filter the Verification Status for which appointments you would like to view. As you can see in the screen shot below, the drop down menu allows for the user to select 1 or more statuses to help located the different statuses more quickly.