Product Support
Attachments
Adding an Attachment to a Claim
Completing a Payer Request for Additional Details
Creating a Custom Attachment Rule
Creating a Stand Alone Attachment
Download the Attachment Tool
FAQs for AttachmentConnect
Locating the Attachment Payer List
Searching for a Claim with Attachments
Using Capture All Attachments
Statements
Claims
Add or Change Billing Information
Adding Users to DentalXChange
Change Practice Management System
Correcting a Validation Error
Download the Batch Upload Tool
FAQs for ClaimConnect
Frequestly Asked Questions for the DentalXChange Management Desktop
Medi-Cal Dental: Add Payer Claim ID from NOAs to Claims on Submission
Registering for DentalXChange
Resetting DentalXChange Password
Submitting a Claim Directly on DentalXChange
Uploading a Batch Claim File
Credentialing
Credentialing For Providers
Creating an Application
FAQ's for Providers using CredentialConnect
Adding Approvals From Payers
Creating a New Account with CredentialConnect
How to Edit Locked Application Fields
How to Update Expiring Supporting Documents
Introduction to CredentialConnect for Providers
Password Recovery
Payer Messages
Submitting an Application Via Email
Understanding the Homepage
Username Recovery
System Requirements for CredentialConnect
Uploading Files to CredentialConnect
Eligibility AI
FAQ's for Eligibility AI
Introduction to Eligibility AI
Reviewing Eligibility & Benefit Details
Add Payer Credential with Multi-Factor Authentication
Common Reasons for Failed Benefit Checks
Managing Payer Credentials
Manually Running an Eligibility Check
Notes and Benefit Customization
Merchant Services
CardPointe Portal
How to setup Payment Plans
Notifications & Alerts
Reconcile Merchant Services (PayConnect) Transactions
Video: How to Process a Refund
Video: How to Process a Void
Video: How to Set Up Payment Plans
Video: How to Use Text-to-Pay
Video: How to use the Virtual Terminal
Real-Time Eligibility
Enrollment
Partner Support
- All Categories
- Partner Support
- PracticeTek
- Registering for DentalXChange with Tops
Registering for DentalXChange with Tops
 Updated
by Lindsey Schurman
Updated
by Lindsey Schurman
Welcome to DentalXChange! Here are steps to sign up for your own account.
- Go to dentalxchange.com and select Sign Up.

- Create your User Login, entering all required fields. Select Continue.

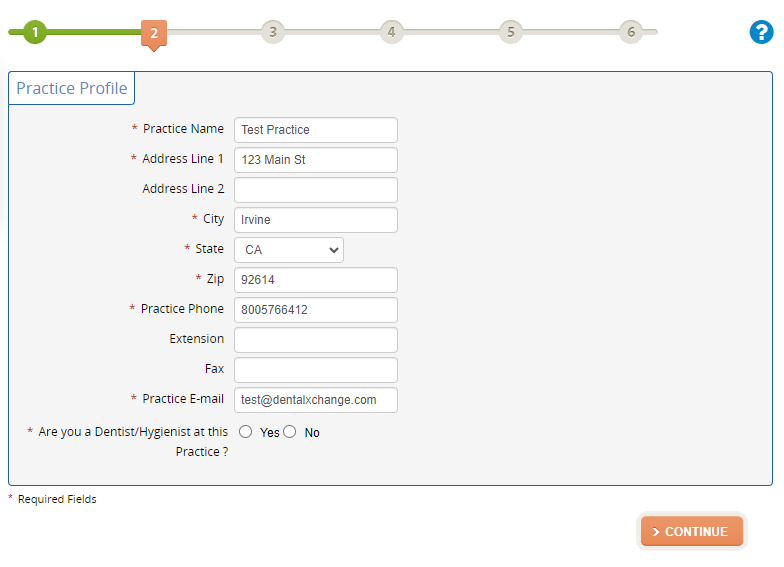
- Enter your Practice information, entering all required fields.
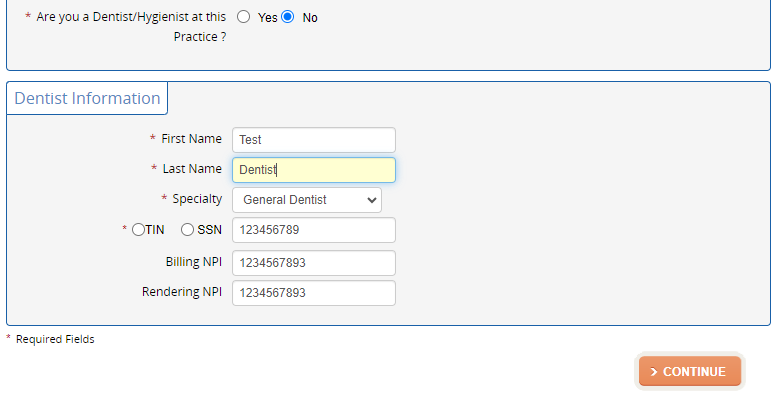
- Complete the Dentist Profile. Select Continue.
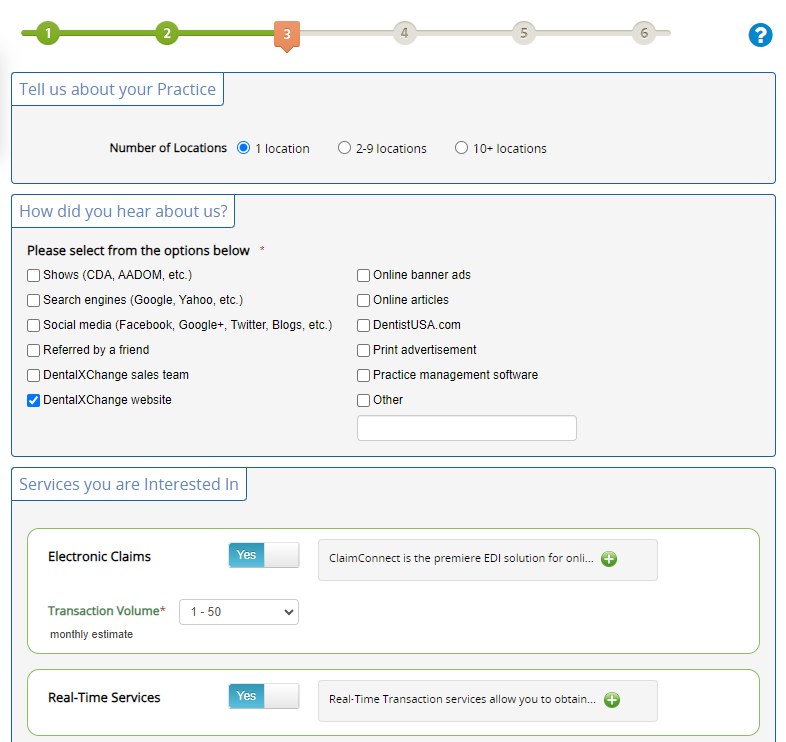
- Select Tops as your current Practice Management Software.

- Tell DentalXChange how you heard about us and which solutions you are interested in. Tops customers should select Claims and Real-Time Services and provide your general transaction volume per month. Select Continue.
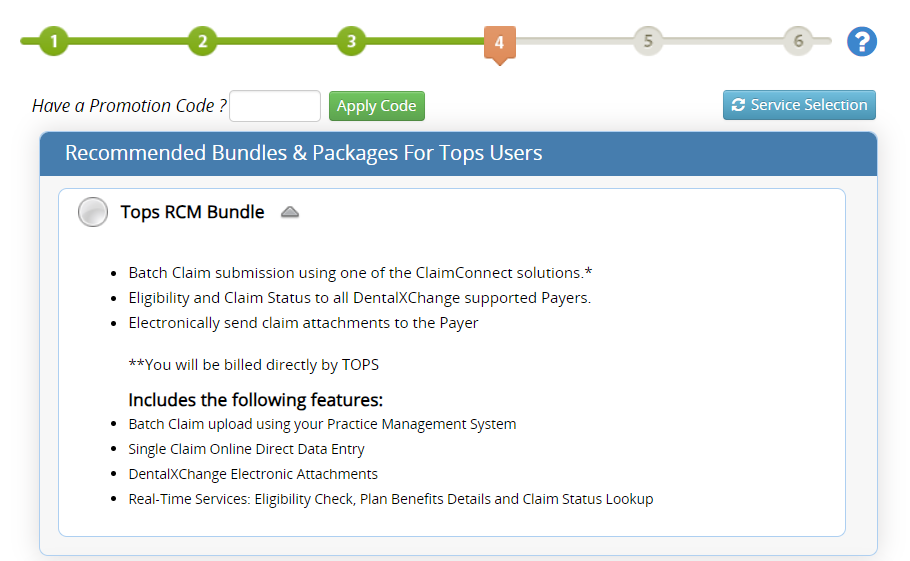
- Select the Tops RCM Bundle. Select Continue.
- Select I Agree to agree to your package selection.
- If additional packages outside of the Tops RCM Bundle have been selected, enter Billing Information, using Credit Card or Checking Account information.
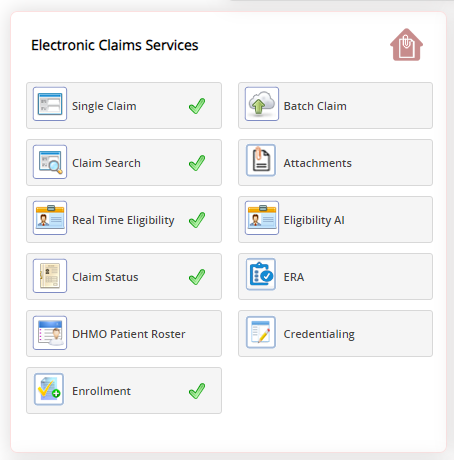
- The dashboard will show all features, select the tile for single claim to start submitting claims.
- Agree to the End User License Agreement (EULA) by selecting I Agree.
- To begin submitting claims with Tops, collect the Account Number from the top right hand corner and follow these steps to Enable eClaims in Tops
